
EQ Frequency Guide: A Comprehensive Overview (Updated 04/21/2026)
This guide demystifies equalization‚ offering insights for both beginners and experienced users to enhance audio quality without needing a formal audio engineering background.
What is an Equalizer (EQ)?
An equalizer‚ or EQ‚ is fundamentally a tool used for adjusting the balance of frequencies within an audio signal. It allows you to boost or cut specific frequency ranges‚ shaping the tonal character of the sound. Think of it like a multi-band volume control for different parts of the audio spectrum.
While often associated with professional recording and mastering‚ EQs are surprisingly accessible. You don’t need an extensive audio engineering background to benefit from their capabilities. Even simple adjustments can dramatically improve the clarity and overall listening experience. EQs come in various forms – software plugins‚ hardware units‚ and even built-in features on devices like smartphones and music players.
Essentially‚ an EQ gives you control over which frequencies are emphasized or subdued‚ allowing you to tailor the sound to your preferences or correct sonic imperfections.
Why Use an EQ?
Employing an EQ offers a multitude of benefits‚ extending far beyond simply “fixing” bad audio. It’s a crucial tool for shaping sound‚ enhancing clarity‚ and creating a more balanced and pleasing listening experience. Before investing in expensive headphones‚ exploring EQ apps can dramatically improve the sound of your existing audio setup.
EQs allow you to correct frequency imbalances‚ removing muddiness or harshness. They can also enhance specific instruments or vocals‚ bringing them forward in the mix. Furthermore‚ EQs are vital for creating space between different elements in a recording‚ preventing them from clashing and ensuring each sound has its own distinct place.
Ultimately‚ using an EQ empowers you to take control of your audio‚ tailoring it to your individual preferences and achieving a professional-sounding result.
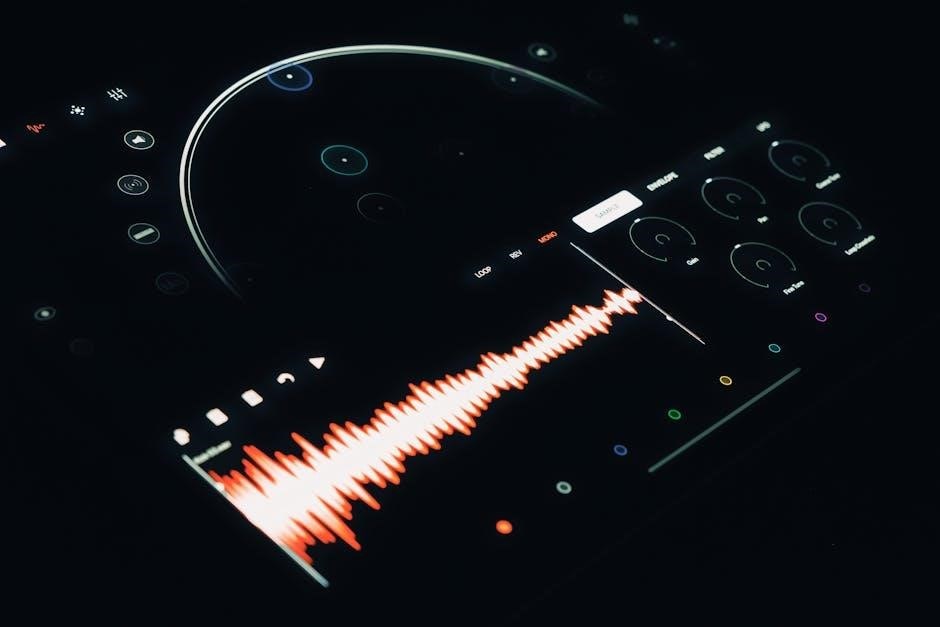
Understanding the Frequency Spectrum
The frequency spectrum is the range of audible tones‚ measured in Hertz (Hz). It’s typically visualized as a horizontal line‚ with low frequencies on the left and high frequencies on the right. Understanding this spectrum is fundamental to effective EQ use.
Human hearing generally ranges from 20Hz to 20kHz‚ though this diminishes with age. Lower frequencies (20Hz-250Hz) represent the bass and sub-bass‚ providing the foundational rumble. Midrange frequencies (250Hz-4kHz) contain the core of most instruments and vocals‚ impacting clarity and warmth. Higher frequencies (4kHz-20kHz) add brightness‚ air‚ and sparkle.
Recognizing where different instruments and sounds reside within this spectrum allows for targeted EQ adjustments‚ improving overall sonic balance and definition.
Detailed Frequency Ranges & Their Impact
Exploring specific frequency bands reveals how each contributes to the overall sound‚ enabling precise adjustments for clarity‚ warmth‚ and impactful sonic shaping.
20Hz ⎻ 60Hz: The Rumble & Sub-Bass
This is the lowest frequency range‚ often felt rather than heard‚ responsible for the deep rumble in explosions‚ movie soundtracks‚ and some electronic music. Careful handling is crucial; excessive boosting can create muddiness and overwhelm a mix.
Sub-bass frequencies demand powerful speakers or headphones capable of reproducing them accurately. In mixing‚ focus on ensuring clarity without unwanted vibrations. Cutting in this range can often clean up a muddy low-end‚ especially if instruments aren’t properly isolated.
Consider the target playback system – many consumer devices struggle with these frequencies. Prioritize a clean‚ defined low-end over excessive sub-bass that may be lost on smaller speakers.
60Hz ⏤ 250Hz: The Bass Foundation
This range defines the fundamental frequencies of bass instruments like bass guitar‚ kick drums‚ and lower register instruments. It provides the “weight” and “punch” in music‚ forming the rhythmic and harmonic foundation. Boosting here adds fullness‚ but can quickly lead to a boomy or muddy sound if not carefully controlled.
Careful EQing is essential to separate bass instruments and prevent them from clashing. Identifying and reducing resonant frequencies within this range can dramatically improve clarity. Consider sidechain compression to create space for the kick drum.
Listen critically on various playback systems to ensure the bass translates well. A balanced bass foundation is crucial for a professional-sounding mix.
250Hz ⏤ 500Hz: Lower Midrange ⏤ Muddy Sounds
This frequency range is often problematic‚ frequently contributing to a “muddy” or unclear sound in mixes. Many instruments have energy here‚ leading to build-up and masking of other frequencies; Excessive boosting in this area can quickly make a mix sound boxy and undefined.
Subtractive EQ is usually the best approach; carefully identify and reduce frequencies that contribute to the muddiness. Focus on pinpointing resonant frequencies that aren’t musically essential. Be cautious when cutting‚ as too much can leave the sound thin and weak.
Consider the context of the entire mix when making adjustments in this range. What sounds good in isolation may not translate well when combined with other instruments.
500Hz ⏤ 2kHz: Midrange ⏤ Core of Most Instruments
The midrange is where the fundamental frequencies of many instruments reside‚ making it crucial for their perceived fullness and definition. This range dictates how instruments “cut through” a mix and contribute to its overall clarity. It’s the core of how we perceive the tonal balance of most sounds.
Careful adjustments here can dramatically improve intelligibility and presence. Boosting slightly can enhance an instrument’s impact‚ while cuts can alleviate harshness or unwanted resonances. However‚ excessive boosting can lead to a honky or nasal sound.
Pay close attention to how instruments interact within this frequency range‚ as conflicts can easily occur‚ masking important details.
2kHz ⏤ 4kHz: Upper Midrange ⎻ Presence & Clarity
This frequency range is vital for vocal clarity and the “presence” of instruments‚ influencing how forward or distant they sound in a mix. It’s where many fundamental frequencies of speech lie‚ making it critical for intelligibility. Subtle boosts can add definition and make elements stand out.
However‚ this area is also highly sensitive; excessive boosting can quickly lead to harshness‚ ear fatigue‚ and a brittle sound. Careful cuts can tame sibilance in vocals or reduce unwanted edge from guitars.
Listen critically for any unpleasant resonances or harsh frequencies within this range and address them with precise cuts.
4kHz ⏤ 6kHz: Brightness & Detail
The 4kHz to 6kHz range significantly impacts the perceived brightness and detail of audio‚ adding “air” and sparkle to tracks. Boosting here can enhance the clarity of cymbals‚ the attack of percussion‚ and the high-end frequencies of vocals and instruments.
However‚ this region is prone to harshness and sibilance‚ especially with poorly recorded or processed audio. Excessive boosting can create a fatiguing and unpleasant listening experience. Careful attention is needed.

Gentle cuts can often reduce harshness without sacrificing too much detail‚ while strategic boosts can bring out subtle nuances. Use a narrow Q to target specific frequencies.
6kHz ⎻ 20kHz: Air & Sparkle
This highest frequency range‚ from 6kHz to 20kHz‚ is responsible for the “air” and “sparkle” in audio‚ contributing to a sense of openness and realism. It affects the subtle overtones that add depth and dimension to sounds‚ particularly in vocals and high-frequency instruments like cymbals and strings.
Human hearing sensitivity decreases at these frequencies‚ so boosting requires subtlety. Excessive boosting can introduce unwanted noise or harshness‚ especially in lower-quality recordings.
Careful adjustments can enhance the sense of space and clarity‚ making the audio feel more present and engaging. However‚ be mindful of potential sibilance and high-frequency artifacts.

EQ Types & Their Applications
Different EQ designs offer unique control and sonic characteristics‚ ranging from broad‚ musical adjustments to precise‚ surgical corrections for optimal audio shaping.
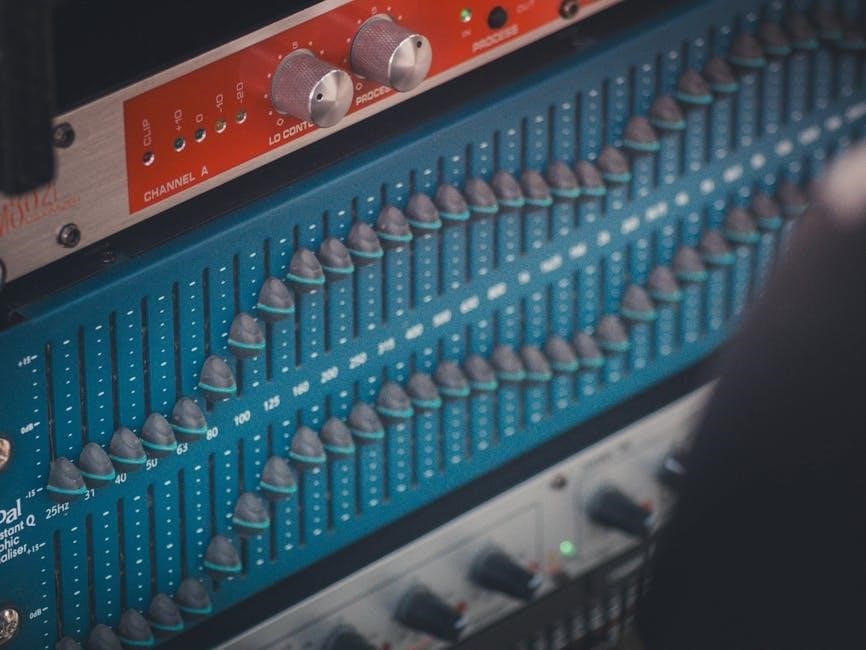
Graphic EQ
Graphic equalizers utilize a series of fixed-frequency bands‚ typically represented by sliders‚ allowing for quick and visually intuitive adjustments to the tonal balance. These EQs are excellent for broad‚ sweeping changes and are commonly found in live sound reinforcement and simpler audio setups.
Unlike parametric EQs‚ graphic EQs don’t offer control over the bandwidth (Q) or precise frequency selection of each band. Instead‚ they provide pre-defined frequency centers‚ making them less flexible for surgical cuts or boosts. However‚ their simplicity makes them incredibly user-friendly‚ especially for those new to equalization.
Graphic EQs are often available with varying numbers of bands – from 7-band to 31-band – offering differing levels of control. They are particularly useful for addressing room acoustics or making general tonal adjustments to a mix.
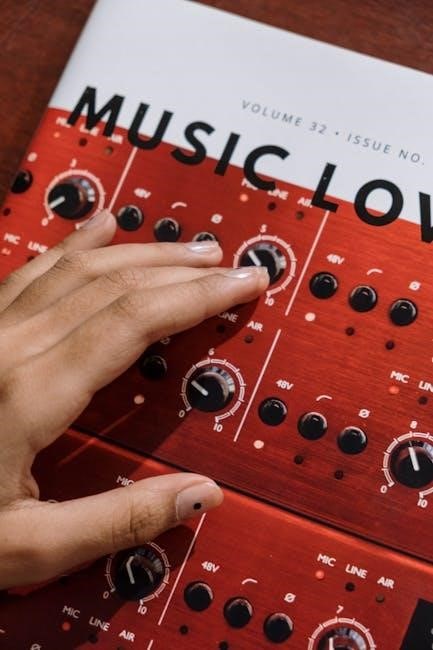
Parametric EQ
Parametric equalizers offer the most control and precision in shaping audio frequencies. They allow adjustment of three key parameters for each band: frequency‚ gain (boost or cut)‚ and bandwidth (Q). This flexibility makes them ideal for surgical equalization‚ targeting specific problem areas or enhancing desired characteristics within a sound.
The ‘frequency’ control selects the center frequency of the band‚ while ‘gain’ determines the amount of boost or cut applied. ‘Bandwidth’ or ‘Q’ controls the width of the affected frequency range – a narrow Q affects a smaller range‚ while a wider Q impacts a broader spectrum.
Parametric EQs are a staple in professional recording and mixing environments‚ providing the tools needed for detailed sonic sculpting and precise correction.
Shelving EQ
Shelving equalizers are designed for broad‚ gentle adjustments to frequency ranges. Unlike parametric EQs‚ they don’t target specific frequencies; instead‚ they boost or cut all frequencies above or below a chosen point – hence the “shelving” effect. There are typically high-shelving and low-shelving options available.
High-shelving EQs affect frequencies above the set point‚ often used to add “air” or brightness to a mix. Low-shelving EQs impact frequencies below the set point‚ commonly employed to adjust the overall bass or rumble.
Shelving EQs are excellent for subtle tonal shaping and are frequently used during mastering to create a polished‚ balanced sound without harsh peaks or dips.
Notch EQ
A notch EQ is a highly precise tool designed to target and attenuate (cut) a very narrow band of frequencies. Unlike broader EQ types‚ it’s not about general tonal shaping but surgical removal of problematic resonances or unwanted frequencies; Think of it as a focused frequency “vacuum cleaner.”
Notch filters are incredibly useful for eliminating specific hums‚ buzzes‚ or ringing frequencies that might be clouding a mix. They’re often used to tame harshness in vocals or instruments‚ or to remove unwanted artifacts from recordings.
Because of their narrow bandwidth‚ notch EQs require careful listening and precise adjustment to avoid negatively impacting the overall sound.
EQ Techniques for Common Instruments
Tailoring EQ to individual instruments unlocks clarity and balance; each instrument possesses unique frequency characteristics demanding specific equalization approaches for optimal mixing.
EQ for Vocals
Vocal EQ is crucial for clarity and presence. Begin by addressing muddiness around 200-500Hz with subtle cuts. Boost around 2-5kHz to enhance articulation and intelligibility‚ but be cautious of harshness. A gentle high-shelf boost above 8kHz can add airiness and breathiness.
For sibilance (“s” sounds)‚ use a narrow notch filter around 6-8kHz. De-essing plugins are also effective. Low-frequency rumble below 80Hz should be removed with a high-pass filter. Remember‚ vocal EQ is highly dependent on the singer’s voice and the song’s context; always listen critically and make adjustments accordingly. Prioritize naturalness over excessive processing.
EQ for Bass Guitar
Bass guitar EQ focuses on fundamental frequencies and harmonic richness. Boost around 60-80Hz for impactful sub-bass‚ but avoid muddiness. A slight boost between 250-500Hz can add warmth and body. To cut through the mix‚ gently enhance frequencies around 800Hz-1kHz‚ being mindful of potential boxiness.
Reduce any unwanted rumble below 40Hz with a high-pass filter. If the bass sounds harsh‚ try a subtle cut around 1-2kHz. Consider the interplay with the kick drum; carve out space for each instrument to avoid frequency masking. Experiment with subtle saturation or harmonic exciters after EQ to enhance the bass’s presence and definition.
EQ for Acoustic Guitar
Acoustic guitar EQ aims to balance warmth‚ clarity‚ and natural resonance. Begin by addressing muddiness in the 200-400Hz range with gentle cuts. Enhance the body and fullness around 120-250Hz‚ but avoid excessive boominess. To bring out the pick attack and articulation‚ subtly boost frequencies between 2-5kHz.
Reduce harshness or brittle sounds with a slight dip around 3-6kHz. A high-pass filter around 80-100Hz can remove unwanted low-end rumble. If the guitar sounds thin‚ a broad boost above 8kHz can add airiness. Remember to consider the guitar’s role in the mix and carve space for other instruments.
EQ for Electric Guitar
Electric guitar EQ varies greatly depending on the tone and genre. For a thicker sound‚ boost around 250-500Hz‚ but be cautious of muddiness. To emphasize the guitar’s bite and presence‚ focus on the 800Hz-2kHz range. A slight boost between 2-4kHz can add clarity and definition‚ especially for lead tones.
Reduce harshness or ice-pick frequencies with a cut around 3-5kHz. High-end sparkle can be added with a gentle boost above 5kHz‚ but avoid excessive brightness. A high-pass filter around 80-120Hz removes unwanted low-end rumble. Consider notching out any resonant frequencies causing unwanted feedback or harshness.
EQ for Drums (Kick‚ Snare‚ Cymbals)
Drum EQ is crucial for a powerful and balanced mix. For kick drums‚ boost around 60-80Hz for thump and 2-5kHz for attack. Snare drums benefit from a boost around 200-300Hz for body and 5-8kHz for snap. Reduce muddiness in both by cutting around 400Hz. Cymbals need careful handling.
Boost high frequencies (8-12kHz) for shimmer‚ but avoid harshness. A high-pass filter around 200-300Hz cleans up low-end rumble. Notching out resonant frequencies can tame boxiness or ringing. Layering drum samples often requires EQ to blend seamlessly within the mix‚ ensuring clarity and punch;
EQ for Piano
Piano EQ demands finesse‚ as it occupies a broad frequency range. Addressing muddiness is often the first step; gently cut around 200-400Hz. Boosting between 2-5kHz adds clarity and presence‚ helping the piano cut through a dense mix. For a brighter tone‚ subtly enhance frequencies above 8kHz‚ but beware of harshness.
Upright pianos may require a dip around 1kHz to reduce honkiness. Grand pianos often benefit from a wider EQ sweep to sculpt their complex harmonic content. Careful notching can tame resonant frequencies. Remember‚ context matters – EQ adjustments depend heavily on the piano’s timbre and the song’s arrangement.
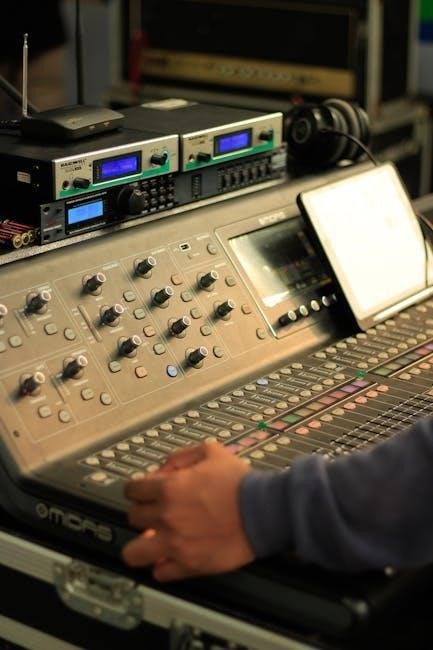
EQ in Mixing & Mastering
EQ plays distinct roles in mixing and mastering. Mixing uses EQ to create space for instruments‚ while mastering provides final tonal balance and polish.
EQ for Mixing ⎻ Creating Space
During mixing‚ equalization is paramount for sculpting a clear and balanced soundstage. The goal isn’t necessarily to “fix” problems‚ but to ensure each instrument occupies its own sonic territory. Subtractive EQ – cutting frequencies – is often more effective than boosting. Identify frequency clashes where instruments mask each other and gently reduce the overlapping ranges.
For example‚ a muddy bass guitar might be cleaned up by reducing frequencies around 250-500Hz‚ creating space for vocals. Similarly‚ a bright guitar could have some high-midrange frequencies tamed to allow vocals to shine. Consider the overall arrangement; EQ should complement the instrumentation‚ not fight against it. Always A/B your EQ changes to ensure you’re improving the overall mix‚ not just isolating individual tracks.
EQ for Mastering ⏤ Final Polish
Mastering EQ is a delicate process focused on subtle enhancements to the entire mix‚ aiming for a polished and commercially viable sound. Unlike mixing‚ mastering EQ typically involves broad‚ gentle adjustments rather than precise cuts or boosts. The focus is on overall tonal balance and ensuring the track translates well across various playback systems.
Common mastering EQ moves include subtle high-shelf boosts for added air and sparkle (6kHz-20kHz) or gentle low-frequency adjustments to enhance fullness. Careful attention is paid to the mid-range (500Hz-2kHz) to ensure clarity and avoid harshness. Mastering engineers often use minimal phase-shifting EQ to preserve the integrity of the mix. Referencing against commercially released tracks is crucial for achieving a competitive sound.
Common EQ Mistakes to Avoid
Avoid excessive boosting‚ drastic cuts‚ and relying on EQ to fix fundamental recording issues; instead‚ focus on subtle adjustments for optimal results.
Over-Boosting Frequencies
Resist the urge to dramatically increase specific frequencies with your EQ. While it might seem like a quick fix to enhance certain elements‚ over-boosting often introduces unwanted artifacts and muddiness into your mix. Excessive gain can lead to phase issues‚ distortion‚ and a generally unnatural sound.
Instead of large boosts‚ consider making subtle‚ incremental adjustments. Often‚ reducing frequencies that are clashing or masking others is more effective than boosting what you want to stand out. Think of EQ as a corrective tool‚ gently shaping the sound rather than aggressively altering it. Small changes‚ when summed together‚ can create a significant improvement without sacrificing clarity or introducing unwanted side effects. Prioritize balance and naturalness over exaggerated frequencies.
Cutting Too Much
Aggressively cutting frequencies can leave your audio sounding thin‚ lifeless‚ and unnatural. While subtractive EQ is often preferred for cleaning up muddiness or harshness‚ excessive cuts remove essential harmonic content and character from your instruments and vocals. This can result in a sterile and unengaging sound‚ lacking warmth and depth.
Approach cuts with caution and moderation. Start with small reductions – 1dB to 3dB – and listen carefully to the impact. It’s better to make several small cuts than one large‚ drastic one. Remember that frequencies often interact with each other; removing too much from one area can negatively affect the overall balance. Prioritize preserving the natural tonal qualities of your source material while addressing problematic areas.
Using EQ as a Fix-All
Relying solely on EQ to correct fundamental issues in a recording is a common mistake. While EQ is a powerful tool‚ it cannot compensate for poor source material‚ improper microphone placement‚ or flawed performances. Attempting to “fix” these problems with EQ often leads to unnatural and compromised results.
Address issues at the source whenever possible. Focus on capturing a clean‚ well-recorded signal from the beginning. If a sound is inherently muddy or harsh‚ EQ can only mask the problem temporarily. Prioritize proper recording techniques‚ instrument tuning‚ and performance quality before reaching for the EQ. EQ should enhance a good sound‚ not rescue a bad one.
EQ Plugins & Software
Numerous software and mobile EQ applications are available‚ ranging from free options to professional-grade plugins‚ catering to diverse needs and budgets.
Popular Software EQs
The digital audio workstation (DAW) landscape boasts a wealth of excellent EQ plugins. FabFilter Pro-Q 3 consistently ranks among the top choices‚ lauded for its pristine sound quality‚ flexible workflow‚ and dynamic EQ capabilities. It’s a powerful tool for surgical cuts and broad shaping. Waves offers a comprehensive suite‚ including the Renaissance EQ‚ known for its classic analog warmth‚ and the SSL E-Channel‚ emulating the sound of a legendary console.
iZotope Ozone’s EQ module is another strong contender‚ particularly within a mastering context‚ providing intelligent features and visual feedback. For those seeking vintage vibes‚ Universal Audio’s Pultec EQP-1A is a faithful recreation of a highly sought-after tube EQ; Finally‚ TDR Nova is a fantastic free option‚ offering a surprisingly sophisticated feature set and transparent sound‚ making it ideal for beginners and seasoned professionals alike.
Mobile EQ Apps
Don’t underestimate the power of equalization on your mobile device! Several apps can significantly improve your listening experience with headphones or earbuds. Poweramp for Android is a popular music player with a robust 10-band EQ and preset options‚ allowing for detailed customization. For iOS‚ Boom: Music Player & Equalizer provides a similar level of control‚ alongside bass boost and spatial audio features.
Equalizer FX is another well-regarded iOS app‚ offering a user-friendly interface and a variety of presets. Wavelet‚ available on both platforms‚ automatically tailors the EQ to your headphones based on their frequency response‚ offering a personalized listening experience. These apps can breathe new life into older headphones‚ making them sound remarkably better.
Resources for Further Learning
Expanding your EQ knowledge is a continuous process. Izotope’s blog offers in-depth articles and tutorials on mixing and mastering‚ including detailed EQ techniques. Production Advice’s YouTube channel provides practical demonstrations and explanations of EQ concepts‚ geared towards music producers. Landr’s blog features articles covering various aspects of audio engineering‚ with a dedicated section on equalization.
For a more academic approach‚ consider exploring resources from universities offering audio engineering programs. Books like “Mixing Engineer’s Handbook” by Bobby Owsinski provide comprehensive coverage of EQ and other mixing techniques. Online forums like Gearspace are excellent for asking questions and learning from experienced engineers.